 They say a smile is contagious, so add a happy touch to your décor by crafting a DIY smile face flower pick for use in a colorful flower arrangement or bouquet. This how-to is so simple that even your little crafters can help out!
Our smiley face template fits our scalloped circles which measure at 2”. Each smiley face measures at 1.5”X1.5”. Depending on the size of your hole punch, you may have to adjust the size of the smiley faces to suit your size. We used a scalloped hole punch to create a flower-type shape, but you can use a regular circle shape for regular smiley face. These picks work best with a more vibrant flower arrangement like our It’s Your Day bouquet.
Remember, Smile Week is celebrated the second week in August, so surprise your favorite friends and family members with a happy gift to spread the smiles!
Supplies for DIY Smiley Face Flower Bouquet Pick
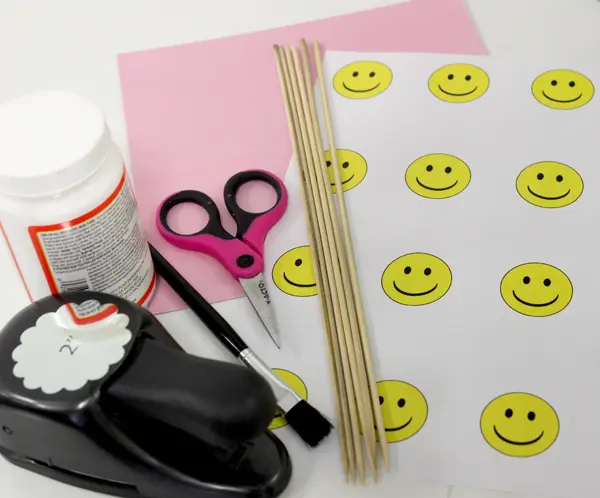 Card stock
Smiley face template
Round or scalloped hole punch (2” or larger)
Outdoor Mod Podge or similar water-resistant adhesive
Brush
Scissors
Bamboo skewers
Directions for DIY Smiley Face Flower Bouquet Pick
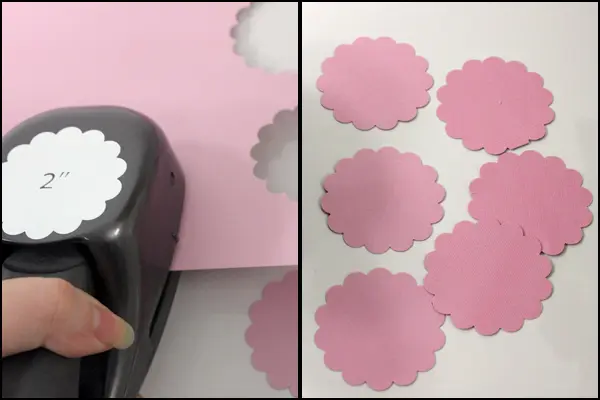
First, use your hole puncher to cut out enough card stock circles. You will need 2 card stock circle for every 1 smiley face pick. (We made 3 picks, so we cut out 6 card stock circles).
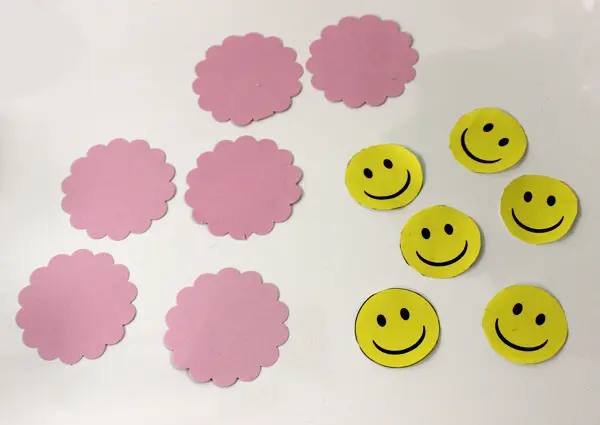
Then, cut out your smiley faces from the template. Again, you will need 2 smiley faces for every 1 pick.
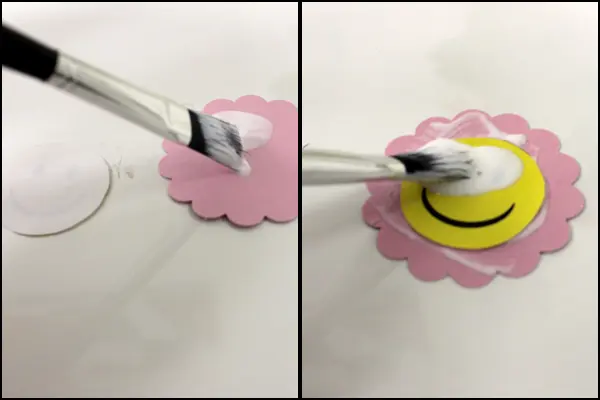
Take one card stock circle and apply liquid adhesive to one side. Next, apply one of the smiley face cutouts to the card stock and hold for 3-4 seconds to seal. Cover with an additional top layer of adhesive; it will dry clear and act as a water-resistant sealant.

Continue this process for as many smiley face circles as you will need (2 for every 1 pick). Let dry until all of the adhesive has dried clear.
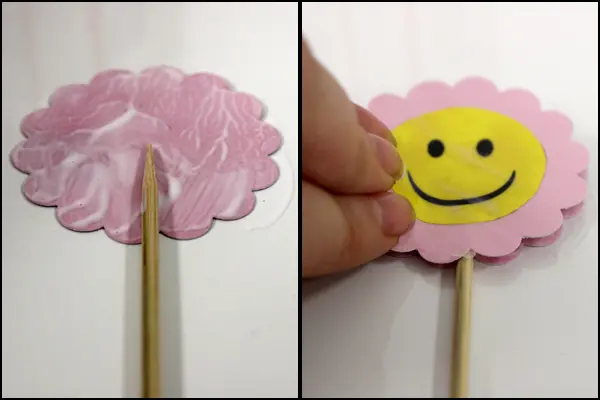
Once the smiles are fully dry, take one and place upside down. Apply a generous coating of adhesive. Place a bamboo skewer pointed side up on the adhesive. Take a second smile and place smiling face up on top of the first one so you have two smiley faces back to back with a skewer in the center. Hold and seal for 5-6 seconds to secure.

Once fully dry, arrange your DIY bouquet picks into your flower arrangement!


Comments are closed.